Using premiere pro
When it came to editing our green screen footage on iMovie, we noticed that the footage was unrealistic, as it was obvious that there was a green screen being used. To overcome this issue, we decided to use premiere pro to edit our green screen footage on, as it allows space for a lot more precision.
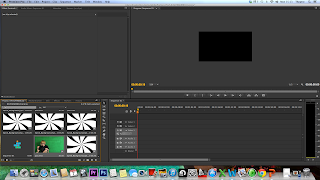
 1 - We started by opening a new project in Premiere pro. When our project appeared we selected the 'media browser' in order to find our footage that we wish to edit. The two videos that we were hoping to edit together was a small test clip of our protagonist rocking backwards and forwards. We would then have our spiraling transition clip as the background. This would help us to achieve an uncomfortable feeling that we were aiming for.
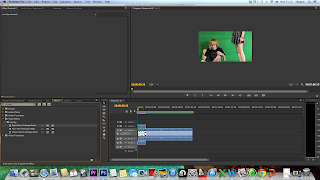
3 - Then we began to edit the footage - to do this we searched for the "keying" folder and selected the "eight point garbage matte". One this was selected we dragged it onto the first test protagonist clip and this allowed us to manipulate the framing of the video itself. We were able to crop out the parts of the frame that did not necessarily have to be there, such as the top left hand corner and right hand side of the frame.

4 - Although, with the keying editing, this still wasn't enough to impact on fully showing the green screen content that we were willing to show. In order to do this we had to edit the footage with another set of tools.
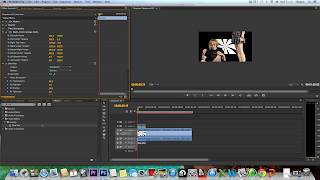
5 - For this we searched for the "ultra key" tool and then selected " key colour" from the menu. With this, it turned our cursor to a pipette icon - once we clicked onto the green areas of the clip it lifted the green screen to reveal the content that we wish to replace it with.
6 - Although this made a vast improvement to our footage, there were still a few distinct issues with the background as there were a few grey patches left where the lighting may have fallen differently on areas of the green screen. In order to overcome this, we had to adjust many settings from the "matte generation" and "matte cleanup" options. From these two folders, we mainly adjusted the "pedestal" settings as we found that it got rid of the majority of the grey patches on our video without interfering with the appearance of the foreground too much. However, a problem that confronted us after we edited our footage was the framing around the green screen content as it remains a lot thicker around the sides than what was expected, although this is said to be solved by downloading the green screen content again.


No comments:
Post a Comment